As a seasoned network engineer with over a decade in the field, I’ve navigated the twists and turns of Cisco certifications more times than I can count. I remember grinding through my CCNA prep back in the day, juggling late-night study sessions with hands-on tinkering in my makeshift home lab. That certification wasn’t just a piece of paper—it opened doors to real-world gigs troubleshooting enterprise networks. But here’s the truth: theory alone won’t cut it. Hands-on practice is the secret sauce for mastering CCNA concepts like VLANs, OSPF routing, and subnetting. In this post, I’ll share my personal recommendations for CCNA lab equipment, drawing from the multiple home labs I’ve built over the years. Whether you’re budget-conscious or going all-in, I’ll cover options that helped me pass the Cisco CCNA 200-301 exam on my first try. Let’s dive in and build your path to certification success.
Real Hardware
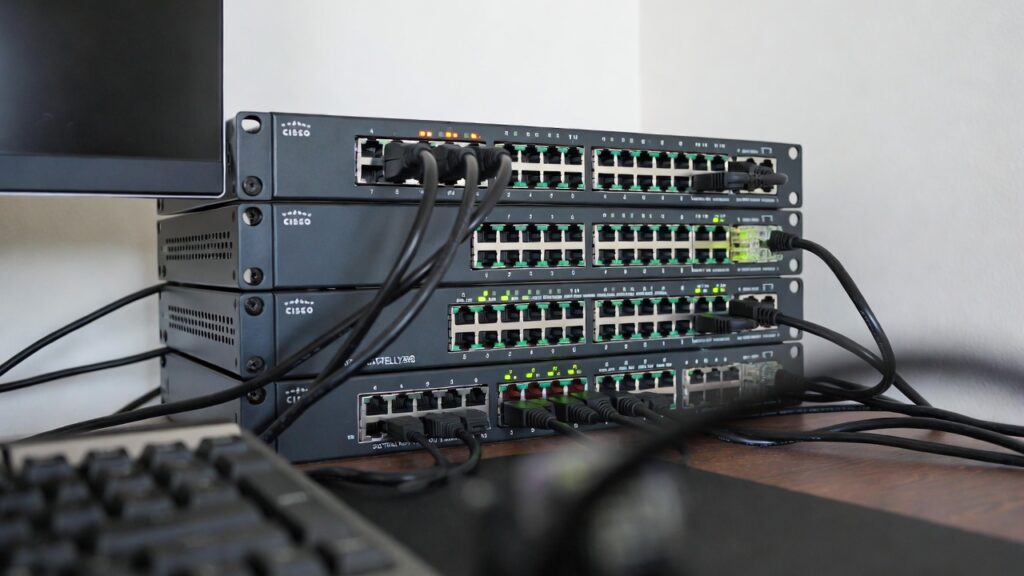
Nothing beats the tactile feel of real Cisco gear when prepping for your home lab setup for Cisco certification. Early in my career, I splurged on physical devices, thinking emulators were for amateurs. Boy, was I wrong at first—shipping costs and compatibility headaches taught me humility. But the payoff? Invaluable troubleshooting skills that emulators can’t fully replicate. If you’re serious about a career in networking, starting with real hardware builds muscle memory for configuring interfaces and cabling under pressure. I’ll break down my top picks for switches, routers, memory upgrades, and cables, based on what worked (and what didn’t) in my setups.
Switches
Switches are the backbone of your CCNA lab equipment, essential for practicing switching fundamentals like STP, EtherChannel, and port security. I started with entry-level models from eBay, but learned the hard way that outdated firmware can derail your progress. Aim for Layer 2 or multilayer switches that support the CCNA syllabus without breaking the bank.
- Cisco Catalyst 2960 Series: My go-to for beginners. These are affordable used (around $50-100 each) and perfect for VLAN trunking. Pros: Reliable, low power consumption; Cons: Limited to 10/100 Mbps ports—fine for CCNA but upgrade if you want Gigabit. I once fried a port during a power surge, so always use surge protectors!
- Cisco Catalyst 3560 Series: If you need PoE or Layer 3 capabilities, this is worth the extra $100-200. Pros: Supports IPv4 routing for OSPF labs; Cons: Noisier fans, higher energy draw. In my second lab, this switch helped me simulate enterprise environments seamlessly.
- Alternatives like Ubiquiti or TP-Link: Not Cisco-official, but great for budget builds. Pros: Cheaper and modern; Cons: Lacks native IOS experience. I mixed these in when Cisco prices spiked.
Routers
Routers bring the routing protocols to life in your best Cisco routers for CCNA practice. I recall bidding wars on auction sites for these—patience pays off. Focus on models with enough interfaces for BGP peering or NAT experiments. Start with at least two for redundancy.
- Cisco 1841 or 1941 Series: Entry-level dynamos for $50-150. Pros: Modular with WIC slots for serial connections; Cons: Older models may need RAM upgrades for newer IOS. My first router duo handled EIGRP labs flawlessly, but I had to [link to my IOS upgrade guide] to enable advanced features.
- Cisco 2900 Series (e.g., 2911): Step up for $200-300 if you want integrated services. Pros: Better performance for ACLs and QoS; Cons: Bulkier and pricier. During one lab rebuild, this series saved me when simulating WAN links.
- Budget Tip: Cisco 800 Series: For small setups, under $100. Pros: Compact for travel; Cons: Limited ports. I used these on the go while consulting.
Remember, check for valid licenses—I’ve been burned by counterfeit gear more than once.
Flash Memory and RAM
Upgrading memory is a rite of passage in CCNA lab equipment builds. My early labs crashed mid-config due to insufficient RAM, turning simple subnetting practice into frustration. Cisco devices often ship with bare minimums, so plan upgrades early.
- RAM Recommendations: Aim for 512MB-1GB per device. Pros: Handles complex topologies; Cons: Compatibility issues if not Cisco-certified. I sourced mine from reputable sellers to avoid boot loops.
- Flash Memory: 128MB+ for storing multiple IOS images. Pros: Enables version testing; Cons: Slower on older cards. In my experience, compact flash cards are reliable but test them first.
- Upgrade Process Tip: Always backup configs before swapping. I lost hours of work once—lesson learned!
[Image: Close-up of a RAM module being inserted into a Cisco router slot, with tools scattered around.]
Cables
Cables might seem mundane, but they’re the unsung heroes of your home lab setup for Cisco certification. I’ve tripped over mismatched ones and debugged “mysterious” connection issues that boiled down to a faulty rollover. Stock up on these essentials.
- Console Cables (Rollover): Blue USB-to-serial for CLI access. Pros: Essential for initial configs; Cons: Adapters needed for modern laptops. I keep extras after one frayed during a marathon session.
- Ethernet Cables: Straight-through for switch-to-PC, crossover for device-to-device. Pros: Cheap and versatile; Cons: Color-code to avoid mix-ups. Aim for Cat5e or higher.
- Serial Cables (DCE/DTE): For WAN emulation. Pros: Simulates frame relay; Cons: Rare nowadays—use adapters. My labs relied on these for legacy protocol practice.
- Power Cables and Adapters: Don’t forget region-specific ones. Pros: Prevents downtime; Cons: Overlooked until needed.
[Image: Assorted network cables including a blue console cable, orange Ethernet straight-through, and gray crossover cable laid out on a table.]
Emulators
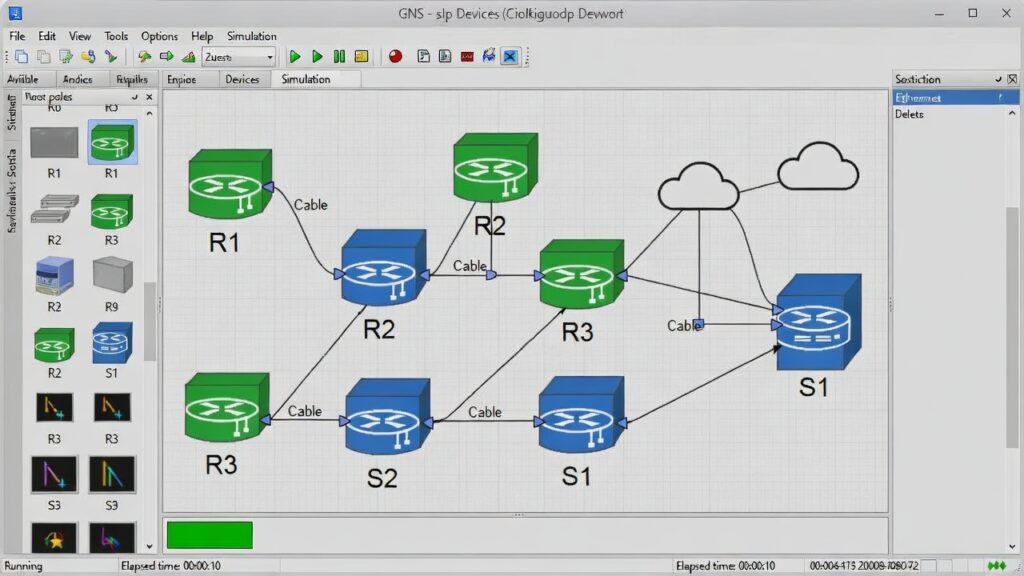
When real hardware felt too cumbersome—especially during my nomadic consulting phase—I turned to emulators for flexible CCNA lab equipment alternatives. Tools like GNS3 became my lifeline, letting me virtualize entire networks on a laptop. But setup wasn’t smooth; I wrestled with CPU spikes and image compatibility for weeks. Emulators mimic real IOS behavior closely, ideal for scaling labs without physical space.
Pros of Emulators:
- Cost-effective: Free software, no shipping.
- Scalable: Add virtual devices effortlessly.
- Portable: Run on any decent PC.
Cons:
- Resource-heavy: Needs a beefy machine (I upgraded my RAM to 16GB).
- No physical interaction: Misses cabling feel.
- Licensing gray areas: Use legit IOS images.
My favorite is GNS3—I’ve built topologies with dozens of routers, integrating with real switches for hybrid labs. Start simple: Download, import IOS [link to my GNS3 setup tutorial], and practice VLANs. For challenges, I once emulated a full OSPF area, uncovering bugs that physical gear hid. If you’re tech-savvy, this beats buying extras.
Simulators
Simulators offer a lighter touch than emulators, perfect for quick CCNA drills without deep dives. I used Cisco’s Packet Tracer during my initial studies, appreciating its drag-and-drop simplicity. Unlike emulators, simulators abstract hardware, focusing on configs over realism—great for beginners but limiting for advanced troubleshooting.
Pros:
- User-friendly: Intuitive GUI for fast setups.
- Free or low-cost: Packet Tracer is downloadable from Cisco Networking Academy.
- Educational tools: Built-in tutorials and grading.
Cons:
- Less accurate: Doesn’t replicate all IOS quirks.
- Limited scale: Struggles with complex scenarios.
- No real integration: Can’t mix with physical devices easily.
In my experience, Packet Tracer shone for subnetting and basic routing labs, but I outgrew it quickly. For CCNA, it’s a solid starter—simulate a small LAN, configure RIP, and verify. I faced crashes on older versions, so always update. If emulators intimidate, begin here to build confidence.
Recommended Topologies
Once your CCNA lab equipment is assembled, topologies tie it all together. I’ve iterated through countless designs, starting basic and scaling up. A good topology mirrors exam scenarios, testing interconnectivity and fault tolerance.
- Basic Star Topology: One router hub with switches spokes. Ideal for intro labs like static routing. Pros: Simple wiring; Cons: Single failure point. My first setup taught me redundancy basics.
- Full Mesh for Routing Protocols: Connect multiple routers directly. Great for OSPF or EIGRP convergence practice. Pros: Realistic enterprise sim; Cons: Cable-heavy. I used this to debug adjacency issues.
- Hybrid with Virtualization: Mix physical switches with emulated routers. Pros: Balances cost and realism; Cons: Integration tweaks needed. In one rebuild, this saved space while covering wireless topics [link to my wireless lab guide].
- Advanced: Frame Relay or MPLS Sim: Use serial links for WAN. Pros: Covers legacy CCNA elements; Cons: Requires specific cables.
Start small—diagram on paper first. My tip: Label everything to avoid confusion during long sessions.
[Image: Diagram of a basic network topology with a central router connected to two switches and end devices.]
Conclusion
Choosing the right CCNA lab equipment boils down to your budget, space, and learning style. From my journeys building home labs, real hardware offers unmatched authenticity but demands investment—start there if possible. Emulators and simulators provide flexibility for on-the-go practice, bridging gaps without emptying your wallet. Weigh pros like scalability against cons like setup time, and always prioritize hands-on over rote memorization. In my career, these tools not only helped pass the CCNA but prepared me for real-world crises, like debugging a production outage at 2 AM.
Decision Tips:
- Budget under $200? Go simulators.
- $500+? Invest in real routers and switches.
- Time-constrained? Emulators for quick spins.
- Hybrid approach: My favorite for comprehensive prep.
If you’re gearing up for your home lab setup for Cisco certification, what’s your biggest hurdle? Drop a comment below—I’m here to help with tailored advice. Let’s get you certified!